I had hoped that this would be the last part of the dressmaking, but as is often the case, something got in the way. it's got to be a conspiracy.
Nonetheless, I did make some progress, so will share that J
The dress is grey with a floral print. As the material is quite thin - almost sheer - the dress needs lining. Effectively, that means making two dresses and sewing them together.
The bodice always takes the most time, even though it is the smallest part. That is because it usually (and this dress is no different) needs darts. Darts help shape the garment - a dress pattern is two dimensional; a body is three dimensional. Darts make the fabric 'curve' to fit around a three dimensional figure.
Having said that, they are tedious to do - well, the way I do them is tedious anyway. As they are pretty important, I do like to make sure they are done properly. For me, that means pinning them, then drawing a line along the sewing line using tailor's chalk.
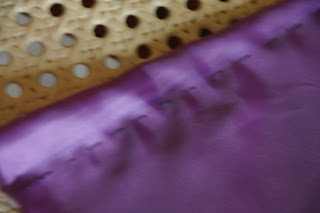
Pins and drawn line - sorry, the line is not obvious because the chalk is a similar colour to the fabric
I have photographed the lining fabric as it is clearer than the main fabric. I then baste by hand outside the sewing line, before using the machine to actually sew the dart in place.
There are four darts in the bodice (two in the front round the bust; two in the back near the waist) and four identical ones in the lining, making eight altogether.
Following the making of the darts, I sewed the side seams. I then attached the bodice to the lining, trimmed the seams and understitched the seams. Understitching makes the fabric lie flatter against the lining.
That left the shoulder seams, which are sewed in a straight line across both lining and main fabric. It is hard to describe, but easier to do.
I like to finish my seams by overlocking the edges to neaten them. I inherited my machine about 5 years ago and it has an overlock feature, so I use that.
I like to finish my seams by overlocking the edges to neaten them. I inherited my machine about 5 years ago and it has an overlock feature, so I use that.
Once the seams were finished, I turned the garment right side out and slip stitched the final part of the seam closed - this is the part that was left open to allow turning. I put it on my dressmaker's dummy to ensure that it fits correctly. Thankfully, it does, so I don't have to undo any of it. It might not look great yet, but it is just a bodice.
Once the skirt is attached, it will look much better J


No comments:
Post a Comment