Tuesday 30 June 2015

Final Touches


The finishing 'touches' to the fence around the vegetable plot are now complete. The fence itself is 66 feet long by 16 feet wide. Around 14 fence posts have been inserted into the ground, weld mesh has been attached to the posts, trenches dug to bury the mesh below ground, trenches refilled when the mesh was fitted, and a rail has been added at the top of the mesh. At the end of the long stretch, there is a gateway. We have made a kind of arbour over the entrance, to make it more decorate than just a plain fence J We used eight boards altogether. Two were attached on each side, either side of the uprights; then four more were attached - again in pairs - across the top. 


There is mesh on the fence to the right, honest

The ends of the boards have been shaped to make it more decorative.


All that's left to do now is create the gate (out of the old fence panel I unearthed - literally - the other day) and attach it, to ensure the rabbits cannot get in. As you can see, the weeds have been growing again, so more work is needed to clear the paths - it isn't the first time and I suspect it wont be the last!

On a disappointing note, despite having a wonderful new fence, the rabbits have managed to get in anyway - under the fence along the recreation ground - and they have eaten every last one of my pea plants. I went to see how they were getting on, expecting them to be beginning to climb up the trellis - but there was no sign of them at all L

Monday 29 June 2015

The corner

Yesterday I cleared a path leading to a corner, from the crazy paving area. Today I thought I would complete the corner and rebuild the wall around the holly hedge.

This is how I left it yesterday:

Quite a mess!

There was a lot of rubbish - stuff people randomly throw over the wall:

Rubbish, but tidily in a pile waiting to be disposed of

Once again, there was a lot of matted roots on the path next to the corner, which had to be removed before I could ascertain what to do with the bricks:


This is a small piece chopped up for ease of lifting - the whole path has been covered in this stuff!

Eventually the path was cleared and the bricks relaid. They are just laid dry - I might have to add some cement at some point, depending if they stay put or not


As you can see, it's slightly curved

I'm not entirely sure why, but some areas have been left without a paving stone right in the middle of the path

Random gap in the paving

The wall beyond the corner needs some tlc too, but that's for another day

You can clearly see where the bit I did today stops and the wall continues

Meanwhile, corner completed - and a bed suitable for ferns or hostas, I think J

That pine tree to the right of the picture is something like 30 feet tall!!


Gates - the tour part 2


 Separating all these areas (see previous post) are, naturally, several gates or gateways. The long garden is accessed twice – once from the main garden (from the crazy paving area)


and once from the square garden

Ivy covered archway makes for an intriguing glimpse beyond

There is also a gate from the square garden into the driveway – taken from the square garden…

This gate is right next to the shed that was attached to the greenhouse

…and the same gate from the driveway

I guess that's what you might call 'inaccessible'

Across the drive is a gate into the vegetable garden…


…and from the other side


Another gate leads from the drive into an enclosed yard at the back of the house


The main gate to the property could do with a facelift, but it is serviceable for the time being and can be locked

Looking down the drive beyond the gate to the road

Finally, there is a gate from the driveway into the side garden, which is almost always left open.


There used to be a gate from the main garden into the square garden too, but that has long since perished.

You can just make out the old gate post attached to the wall on the left


Many of these gates need replacing, or at least a coat of paint, but one thing at a time J

A guided tour


The idea of dividing the garden up into different ‘rooms’ is nothing new. My house was built in 1902 and the garden completed around the same time. We have various areas, but first the overview:


The side garden – which is where you enter the garden from the driveway to access the front door:

Side garden, looking towards the driveway

The main front garden, which speaks for itself really:

The sunken garden is to the left of the trees; the crazy paving to the right

The ‘square garden’, which gets its name from the fact the lawn is just about square; it is off the front garden to the left and outside the kitchen window; the greenhouse and sheds are along one side of this garden:

Looking from where the main garden leads into the square garden

The ‘long garden’, because it’s well, long! It was the old lane that surrounded the house, but was long ago incorporated into the garden, as no-one used the lane any more:

It's a little overgrown, so it doesn't look very long, but believe me, it is; I have big plans for this area

The vegetable garden and mini orchard:

The nettles are determined to make a comeback; the vegetable beds are to the right of the picture

There is also an area behind the garage, which has no formal designation yet and I have no idea what to do with it – any suggestions welcome and gratefully received J

Looking east from the vegetable garden towards the long garden; this area is behind the garage

Sunday 28 June 2015

Path Clearances

Path Clearances - an ongoing job J

So today I decided to tackle the path that runs to the right from the crazy paving area I uncovered the other day and behind the laurel bush. 

Yes, that is a path under there!

You may or may not have realised, I like to use what I have where possible, rather than buying new and throwing away stuff that might be perfectly serviceable. There was an old fence panel lying on the ground behind the laurel that I would like to use to create a gate for the vegetable garden, but in order to pull it out, it became necessary to clear some rubbish first. You can just about make out the fence panel:

Barbed wire and other debris cover the fence panel that will become the gate to the vegetable patch

Underneath all this rubbish is yet another paved path. 

The lighting is not the best (wrong direction), but this shows a bit of semi-cleared path under the rubbish; better photos later, when the sun had moved round a bit

The debris is thick and matted, covered in soil, dead leaves, roots and stones, making it very hard work to shift. I ache in muscles I didn't know I had!

I have never explored this particular part of the garden before. I knew there was a path here, which continues off to the right and between the flower bed and the wall, but discovering just where it goes is interesting. For instance, I didn't know it headed off to the left too, towards what used to be a wall. 

The path leading nowhere to the left; the path leading behind the laurel and along the garden wall to the right

The remains of a wall, which once separated the garden from the lane; the lane is now incorporated into the garden

I think the wall possibly fell down and was replaced with the fence - the same fence that is going to become my garden gate, once it is cut to size. Having cleared the rubbish on top and around it, I was finally able to pull the fence out:

 Fence now upright-ish

Fence removed from the pathway and laid near the crazy paving area; it will need cutting to size, but I think it will make a nice gate

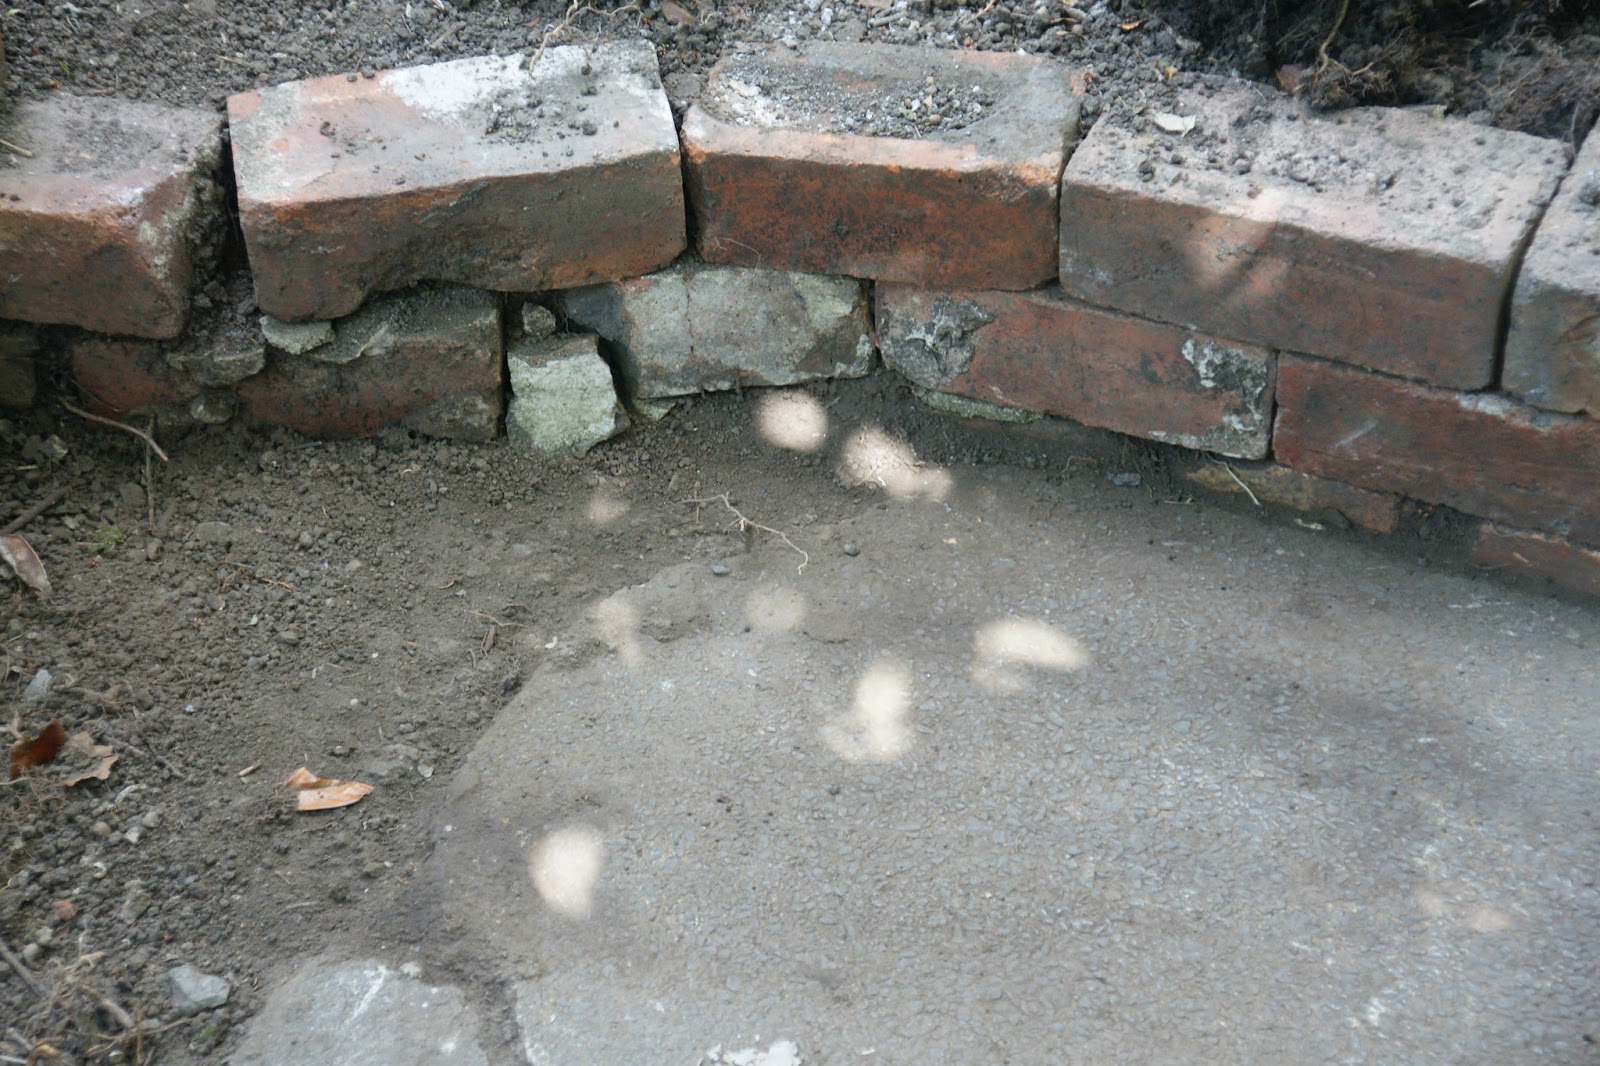
I am not sure what this is...


...but it appears to be a raised bed, using the bricks from the wall. It has collapsed somewhat, so I will be removing some of it and rebuilding the dry wall to enclose the holly bush, but no further. It will make a 'holly hedge' along this section of the outer garden wall.


Holly bushes along the wall; the raised bed, above, is to the left

And there is yet another rockery! Some of the stones/rocks have been removed previously and used elsewhere in the garden. 


Looking towards the crazy paving; you can just see the wheelbarrow which is standing on the paving

Other rocks are still lying around - and they are pretty big and heavy - and had to be moved out of the way. Believe me, they are not exactly light!


Once the laurel has been cut down to size, there should be much more light in this corner, so I will probably reinstate this particular rockery. At the moment, it is covered in bricks, half bricks and rubble, which means a bit more work yet J


Is there any use for old rubble? Well, yes, as it happens, there will be; but you will have to wait to find out what

It took five loads of these:

This is a builder's wheelbarrow, so it is larger than the garden variety

Job done J

Looking from the crazy paving towards the garden wall with its holly hedge


The dress is finished


 … but I am not happy with it L

I didn’t manage to take any photos of the process, because I was in a hurry to get it finished.

On Friday evening, I sewed the long seams on the skirt and the lining (eight seams); on Saturday morning, before breakfast, I overlocked the seam edges. 

I had a sudden inspiration and went to look in my box where I keep odds and ends like elastic and – spare zips! Yes, I had one in a colour that would match, so I didn’t have to go out to get one after all. Good thing too, as that would have taken around 1.5 hours and the dress would not have been finished in time. 

After that, I attached the bodice to the skirt and attached the zip. I top stitched around the neck as it was refusing to lie flat and hemmed both the skirt and the lining. Then put it on Molly-the-Dolly (my dressmaker’s dummy) – and that’s where I started to see the flaws.

The material is almost sheer, which makes it difficult to stitch nicely – and yes, the side seams were puckered. Then I noticed that the hem wasn’t level – I have no idea how that happened, as the hem was exactly 1.5 inches all round. And the top of the zip – one side was slightly higher than the other – again, I have no idea how that happened because the zip was closed when I pinned it. I guess that’s what you get for rushing L


Still, it was finished in time for the dance, so I wore it anyway J

Friday 26 June 2015

Dressmaking - part 3

I had hoped that this would be the last part of the dressmaking, but as is often the case, something got in the way. it's got to be a conspiracy. 

Nonetheless, I did make some progress, so will share that J

The dress is grey with a floral print. As the material is quite thin - almost sheer - the dress needs lining. Effectively, that means making two dresses and sewing them together.

The bodice always takes the most time, even though it is the smallest part. That is because it usually (and this dress is no different) needs darts. Darts help shape the garment - a dress pattern is two dimensional; a body is three dimensional. Darts make the fabric 'curve' to fit around a three dimensional figure.

Having said that, they are tedious to do - well, the way I do them is tedious anyway. As they are pretty important, I do like to make sure they are done properly. For me, that means pinning them, then drawing a line along the sewing line using tailor's chalk. 

Pins and drawn line - sorry, the line is not obvious because the chalk is a similar colour to the fabric

I have photographed the lining fabric as it is clearer than the main fabric. I then baste by hand outside the sewing line, before using the machine to actually sew the dart in place.


There are four darts in the bodice (two in the front round the bust; two in the back near the waist) and four identical ones in the lining, making eight altogether.

Following the making of the darts, I sewed the side seams. I then attached the bodice to the lining, trimmed the seams and understitched the seams. Understitching makes the fabric lie flatter against the lining.


That left the shoulder seams, which are sewed in a straight line across both lining and main fabric. It is hard to describe, but easier to do.

I like to finish my seams by overlocking the edges to neaten them. I inherited my machine about 5 years ago and it has an overlock feature, so I use that.


Once the seams were finished, I turned the garment right side out and slip stitched the final part of the seam closed - this is the part that was left open to allow turning. I put it on my dressmaker's dummy to ensure that it fits correctly. Thankfully, it does, so I don't have to undo any of it. It might not look great yet, but it is just a bodice. 


Once the skirt is attached, it will look much better J